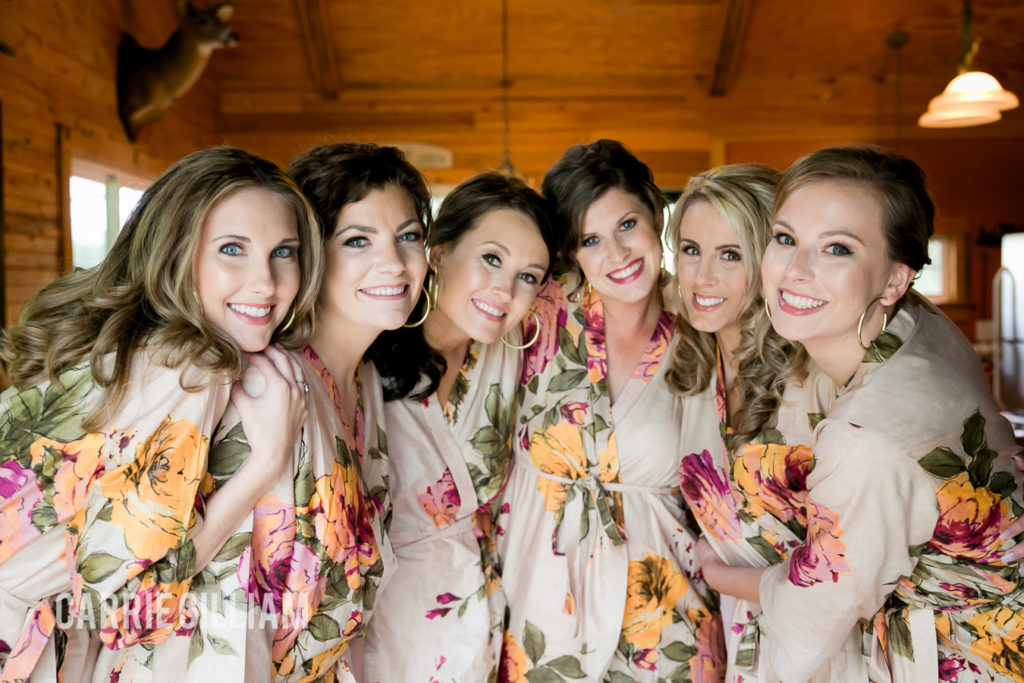
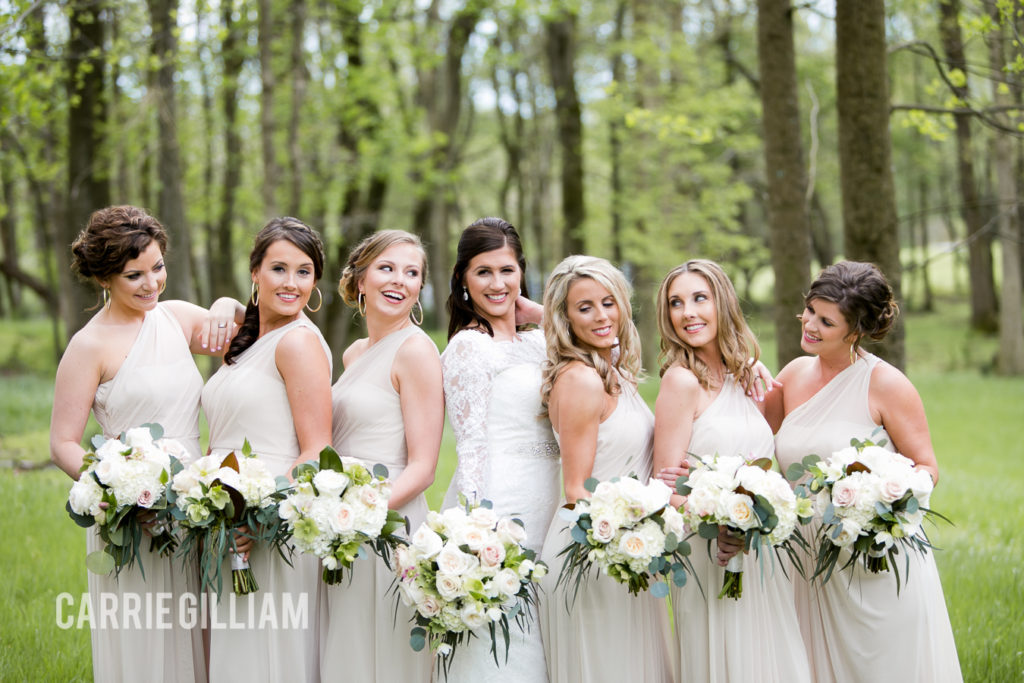
This post is long overdue! I think I always get a little overwhelmed by how much I want to share that actually sitting down to write it just looms over me and then I procrastinate, but today I chose to put my “big girl” panties on finally decided to share my current favorite products and tips. As many of you know, I do occasionally do makeup for friends on their wedding day as well as their bridal party. This weekend I had the opportunity to do makeup for such a beautiful and sweet friend, Jessica Young. I am always so honored when people ask me to be a part of their special day and I cherish each moment spent with the bride and bridesmaids before they walk down the aisle. I asked one of my great friends and bridesmaids, Ashley Henn (pictured first) if I could use her face to show off some of my favorite makeup favorites and share a little bit about application. So lets get started!
As long as I have been doing makeup I have always started with the foundation and now, I actually start with the eyes.
I. Step One Eyeshadow – When applying eyeshadow a lot of times some of the shadow gets on the face because of blending. Starting with eye shadow allows you to get some on the face and then get it off before applying the foundation. I first apply MAC ‘Bare Canvas’ on the entire lid up to the eyebrow and this is a tinted primer that helps the shadow stick. My current eyes shadow obsession is the Urban Decay & Gwen Stefani Palette . This palette has changed my world since I got it at Christmas and I have used it everyday ever since. The colors are so pigmented and amazing! One of my favorite looks from the palette is using color “Danger” in the entire crease, then going back half way from the outside crease to the middle of the crease with “Harajuku” and the layering that shade and smoking out the side with “1987.” I use the Real Techniques Deluxe Crease Brush to apply all of these shades and it comes in the Eyeshadow Brush Starter Kit that’s under $20 for all five brushes (you can’t beat that). I then occasionally take a tiny bit of “punk” with the accent brush and really blend a small bit from the outside to the inner crease for a little more drama or depth. On the lid I go back with a mix of “Baby” and “Stark” and simply apply to the lid. I’ve really liked keeping the lid simple to make the eye appear a little more open with more emphasis on the crease definition.
II. Foundation – I am still stuck on Tarte Amazonian Clay (I don’t know if I’ll ever not be stuck on this one) – I love the Tarte Airbrush Finish Bamboo Brush for application. I typically wear color Medium Honey or Medium Neutral.
III. Concealer – I then take the Lancome Maquicomplet Correcteur and draw a triangle from the inner corner of the eye to the bottom of the nose and up to the outside corner of the eye and fill it in. I do this to both under eye areas. I then take a little more and cover up the nose and between the eyes, touch the upper lip and middle of the chin. I let the concealer sit for at least a minute to get to the right ph and then take a dampened beauty blender. A damp beauty blender can really get in those hard to reach areas.
IV. Translucent Powder – Tarte Smooth Operator Amazonian Clay Finishing Powder is one of my favorites to set my entire face and I LOVE the Real Techniques Powder Brush to apply, its so soft and plush.
V. MAC Studio Fix – I go back over the translucent powder on my forehead, cheeks and chin with a light dusting of tne MAC Studio Fix Powder just to add a little more color. I use color C4.
VI. Eyeliner- Bobbi Brown Gel Liner in color Black Ink is still one of my favorites (it does have a tendency to dry out, but it’s still one of my favorites) I apply it with the MAC 210 brush that is so tiny and precise.
VII. Eyebrows – I have the best kept secret to eyebrows and that’s one product Anastasia Brow Definer. I have been eyeing this product for months because I am obsessed with the Anastasia Brow Wiz and didn’t know if I wanted to change. Last week I took the plunge and purchased this product and my brows have never looked better! The thickness of the definer and the angled shape make it easy to line as well as fill in. I use the color Medium Brown because I want a little darker brow than my hair and I have used this same color on brunettes, it’s a great “Universal” tone.
VIII. Mascara – Too Faced Better Than Sex or Benefit They’re Real are my top two favorites. They both create great length and volume. The Better Than Sex does seem to make my lashes look fuller, but the Benefit make them a little longer so you really can’t go wrong with either. If you are going to apply false lashes and for weddings and events, I do… I do the lashes before the mascara and after the eyeliner. I love the Eylure Lengthening lashes that give the eyes an “open” look to them. Always make sure to trim the lashes to fit your own before you put the glue on them. I LOVE the DUO Brush on Adhesive glue in the GREEN box. some of the glue is a little pasty to me, but the one in the green box is great. Once the lashes are cut to fit your eye, sweep the glue on the lashes and the KEY here is to WAIT about 15 seconds for the glue to get “tacky” before you apply. This helps the glue not to smear as well as helps the lashes stay put when you apply them to the lash line. If you mess up, don’t worry, just pull them off add some more glue and try again 😉
IX. Bronzer – So, this is my NEWEST and GREATEST find (can you tell I’m a little excited?!?!) and its the Trish McEvoy ‘Sunkissed’ Bronzer that I use for my contour. I was introduced to this in NY a few weeks ago and it immediately became my MUST-HAVE!! I apply this with the absolute best angled contour brush by Sigma, it’s the F40 and this brush will change your life. I learned this trick by the Trish lades and for the contour think” “C” into a “3.” So basically, apply the bronzer along the outside of the eye down the cheek bones, swipe back up the cheek bone and make a large cirle down to your jawline. So in theory you are making a large “3” swiping motion on the side of your face. If I didn’t do well explaining that then try this: suck in your cheeks like a blow fish and take the bronzer and sweep it from the top of your ear down your cheek bone and repeat a few times.
X. Highlighter – Highlighter is what gives a bride that “pre-wedding glow!” Highlighter is a MUST! I am still obsessing over and using the Champagne Pop Highlighter by Becca Cosmetics. I like to lightly dust it on the apples of my cheeks and up around the outside of my eye. I also dust some on the tip of my nose for a little extra dewy look!
Products Mentioned:
Urban Decay & Gwen Stefani Palette / Tarte Amazonian Clay / MAC Bare Canvas (eye primer) / Lancome Maquicomplet Correcteur / Beauty Blender / Tarte Translucent Smooth Operator Powder / Real Techniques Powder Brush / Real Techniques Starter Kit (Eyeshadow Brushes) / MAC Studio Fix Powder / Trish McEvoy ‘Sunkissed’ Bronzer / Sigma Contour Brush F40 / Bobbi Brown Gel Liner / MAC 210 Liner Brush / Eylure Lengthening Lashes / Anastasia Brow Definer / Too Faced Better Than Sex/ Benefit They’re Real Mascara / Eylure Lengthening Lashes / Duo Brush on Adhesive Glue / Champagne Pop Highlighter
Photos by: Carrie Gilliam Photography
Shop the Post:


The Anastasia Brow Definer is on my list to try! I love the Brow Wiz and a bunch of the other products you mentioned. Your work is so beautiful! I’ve never tried any Trish McEvoy products, but my mom’s cousins SWEARS by her stuff.
The Brow Definer changed my life hahaha I love the thickness of it and the way I can also fill in my brows a little easier! You need to definitely try the Trish McEvoy, I had NEVER tried it and I am addicted! It totally changed my contour game 🙂